How to create an animated .gif for your Instagram feed using Photoshop
I’ve received a couple of questions about how to create GIFs for Instagram. There are many ways to do this, but my favorite is to use a program I’m already familiar with — Photoshop. In Instagram, you can’t upload a normal GIF file. It won’t animate. So, in order to make your animation work on Instagram, you will have to create a movie file, namely an .mp4 file. Photoshop can help you create that!
APRIL SHOWERS BRING MAY FLOWERS
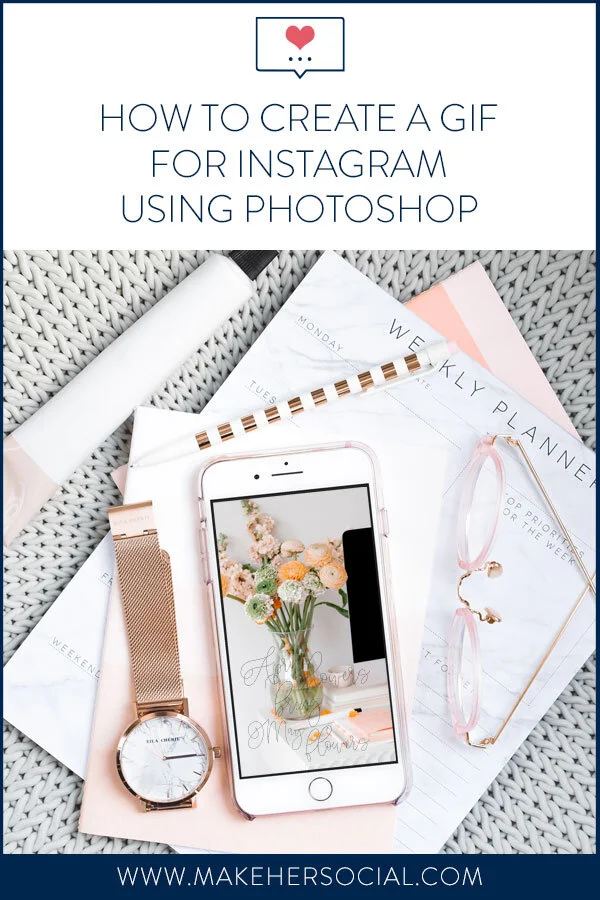
This image below is the file that I created. I created it using a size that is optimized for Instagram Stories, which is 1080 x 1920 pixels. If you want to create a GIF for your Instagram feed, then I recommend choosing a square size. I normally use a 1500 x 1500 pixel size document for anything going on my feed. You can choose whatever size works well for you, but a square works really well for Instagram.
Even if you aren’t that familiar with Photoshop, I walk you through step by step in the video to show you how I created the GIF that you see above.
Here are the steps I used to create the GIF:
To begin with, I created a new image in Photoshop with the dimensions of 1080 x 1920, which is the optimum size for Instagram stories. While creating the image, I placed all of the items that I want to animate in different layers. In this case, I wanted to animate the text. So I created different layers for all of the words.
Then, I created a frame animation within the Timeline window. If you can’t find your timeline panel in Photoshop, go to Window > Timeline. Once that panel comes up, choose the “Frame Animation” option in the middle of the timeline. Then make sure you click where it says “Frame Animation”. It took a while for me to figure this out, and was wondering why nothing was happening when I chose this option. Click it and a new frame will pop into the panel.
Note: The frame animation option works essentially the same way that a flip book does. Remember those from when you were a kid? Each page had a different picture on it and when you flipped through the book, all of the images came together and it looked like it was moving. The same idea applies here. You will create different images in frames and put them together to create an animation.
Select a frame, and add in as many frames as you would like using the Replicate button within the Timeline panel. After I added in all of my frames, I wanted to add a dissolving effect between frames so that the words in my animation looked like they were fading in to the picture. To create that effect, I used the “tween” option. It automatically adds in frames between (here’s where the name tween comes from!) the frames that I selected and gradually shows the last frame, thus creating a dissolving effect.
Before rendering the video, I changed the default time duration settings for the frames that I wanted to go slower. In this case, I changed the beginning frame and the ending frame and made them each have a 0.5 second delay before it moved on to the next frame.
Once I was done with that and happy with the way it looks, I rendered the video. To do this, go to File > Export > Render Video in Photoshop. It outputs the video as a .mp4 file, which is what Instagram will accept. Remember, when you create your own GIF and want to upload it to Instagram, it’s not really a GIF, it’s technically a movie.
Once you have rendered the video, find the video on your computer and transfer your file to your phone. Upload it to your Instagram stories or your feed from there!
Pro Tips:
Make sure your video is longer than 3 seconds. It needs to be longer than 3 seconds for Instagram to accept it.
If you want to make a GIF for a website (like the one above the video here), the process is mostly the same. The only difference comes when you want to export it. To export a .GIF file, go to File > Export > Export As (Or Save For Web) and choose a GIF option. You can also resize your document within that window. It usually doesn’t need to be as large on a website!